Air Fryer Seed Sprouting: Temperature & Moisture Guide
By Aiko Tanaka • 10th May
Introduction
Air fryer seed sprouting techniques offer a compact, controlled path to nutrient-rich sprouts, but only if you treat it as a system, not a guessing game. Many people buy seeds, turn on the machine, and abandon it when moisture pools, airflow falters, or cleanup becomes a 20-minute ordeal. The turning point comes when you map the workflow: moisture levels, temperature plateaus, basket geometry, and cleanup sequence. Once you see sprouting as a repeatable process (not an appliance feature), the air fryer becomes a reliable sprouting hub. This guide walks through temperature, moisture, and execution so sprouting seeds in an air fryer becomes as routine as washing dishes.
If cleanup stalls, the machine gathers dust, design for glide. That principle holds here: seeds that are easy to rinse and harvest will actually make it into your meals, week after week.
Why the Air Fryer for Sprouting?
Traditional sprouting jars require vigilance: daily rinsing, draining angles that risk spills, and awkward hand reaches into narrow-mouth containers. Cloth covers trap moisture unevenly. Trays sprawl across counter space. The air fryer, by contrast, is already on your counter, already sized for small batches, and already built to manage temperature and airflow. Two constraints make it uniquely suited:
- Humidity enclosure: The basket and chamber hold moisture without requiring separate lids or covers.
- Temperature stability: Most air fryers hold 95-110°F (35-43°C) ranges precisely (ideal for germination without heating to roast temperatures).
The catch: you must work with the machine's airflow and basket geometry, not against it. Overseed the basket, and moisture lingers. Use a flat pan that blocks air circulation, and you'll get rot and mold. For a quick primer on airflow paths and heat behavior, see air fryer airflow.
Temperature Fundamentals for Sprouting
Seed germination thrives in a narrow window. Here's what the data shows:
Optimal sprouting temperature: 65-75°F (18-24°C) for most seeds (mung, alfalfa, broccoli, radish).
Air fryer setting: Use the lowest dehydrate or warm setting available (typically 95-105°F if your model has a dehydrate function). If not, use the Warm or Keep Warm mode, which usually sits around 140°F (60°C), still survivable for sprouting though slightly accelerated. Check your manual; some models list the exact Warm temperature. If your unit offers a dehydrate mode, our air fryer dehydrator guide explains optimal settings and how to hold steady lows.
Why this matters: Too hot (above 110°F / 43°C), and enzyme activity slows and mold risk rises. Too cold, and germination stalls or takes weeks. Air fryers' precision here beats jar sprouting, where ambient room temperature often drifts 10-15°F throughout the day.
Air Fryer Moisture Control for Sprouting: The Critical Step
This is where most sprouting fails in confined spaces. Air fryer baskets are designed for convection cooking, to move hot air rapidly over food. Sprouting needs the opposite: consistent moisture without pooled water.
Step 1: Prepare seeds (daily refresh cycle)
- Rinse seeds under cool running water in a fine-mesh strainer (about 30 seconds).
- Lay seeds on a paper towel, pat gently, and separate any clumps with your fingers.
- Spread evenly across the air fryer basket in a single layer (no more than 1/4 inch deep for small seeds, 1/2 inch for larger ones such as beans or peas).
Why single layer? Seeds underneath will suffocate and rot if stacked. Air must reach every seed; moisture must evaporate from, not collect on, the bottom.
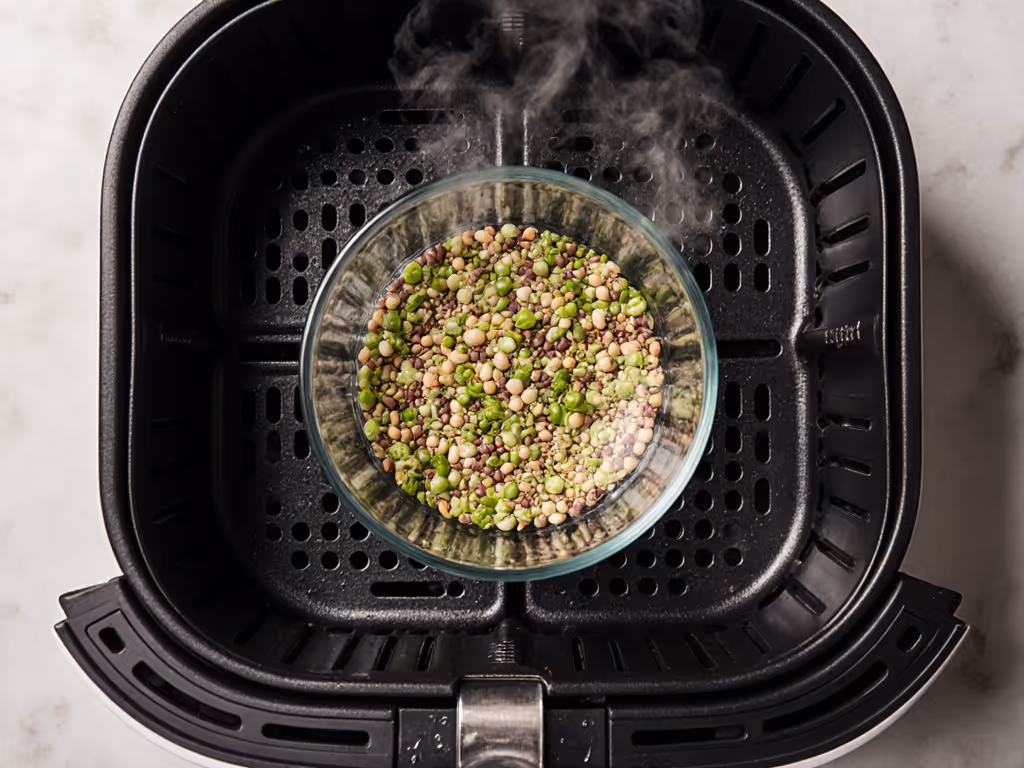
Step 2: Set humidity without pooling water
Place a small bowl of water (about 1/4 cup) on the fryer rack below the basket, or in a corner if you're using the tray insert. The water won't drip or splash, it simply evaporates upward, raising the chamber's humidity.
Do not spray seeds directly. Excess surface water traps oxygen and invites mold.
Day-by-Day Sequence
Treat sprouting as a timed workflow to stay on track and catch failures early.
Day 1: Soak and initiate
- Soak seeds in cool water for 8-12 hours (overnight) in a bowl outside the air fryer.
- Drain and rinse.
- Spread in air fryer basket on low heat (95-110°F if available, otherwise Warm mode).
- Set a timer for 12 hours. Moisture bowl in place below.
Days 2-5: Rinse cycle
- Every 12-24 hours, remove the basket, rinse seeds under cool water for 30 seconds, drain well, and return.
- Check for musty smell (sign of mold) or overly soft, translucent seeds (sign of rot). If either appears, discard and start fresh.
- Refill the water bowl if it's evaporated more than halfway.
- Return basket to air fryer on low heat.
Day 5-7: Harvest window
- Most seeds show sprouts (tiny tail emerging) by day 4-5. Once tails reach 1/8-1/4 inch, remove, rinse, and store in a sealed container in the fridge.
- Continuing to leave them in the air fryer will over-sprout them (too long, bitter flavors, wilting).
Timeline: This is end-to-end. No guessing. Mung beans and alfalfa typically show in 4-5 days. Broccoli and radish take 6-8 days. Mark your calendar or set phone reminders for rinses.
Basket Geometry & Design for Glide
Not all air fryer baskets are equal for sprouting. A few rules:
Solid-bottom, perforated-side baskets (common in most models): Best choice. Air circulates from the sides; moisture sits briefly on the base and drains toward a drip tray below.
Wire-mesh baskets (some budget models): Problematic. Water drains too fast; humidity drops. You'll need to rinse more frequently or add a cloth lining (which traps moisture unevenly). Consider thin, perforated liners and rack options from our air fryer accessories to fine-tune humidity without blocking airflow.
Non-removable baskets: Difficult. You'll need to rest a small parchment-lined tray inside to contain seeds, reducing airflow further.
Before you buy an air fryer for sprouting, check if the basket lifts out cleanly and has easy access for rinsing. A stuck basket means a 5-minute daily rinse becomes 15 minutes, and that friction kills consistency. Accessibility matters as much as capacity.
Cleanup & Storage: Why It Matters
Here's the unspoken truth: if rinsing and storing sprouts feels like a chore, you'll stop sprouting. A streamlined rinse routine starts with a clean machine—use our cleaning guide to keep baskets and trays glide-ready. You'll buy jar kits, abandon them after one cycle, and the air fryer will gather dust doing other things.
End-to-end cleanup timing:
- Rinse in basket, drain: 2 minutes.
- Pat seeds on paper towel: 1 minute.
- Return to air fryer: 30 seconds.
- Total: 3-4 minutes per cycle, twice a day, roughly 15 minutes over a full sprouting cycle.
Storage: Once sprouted, remove seeds from the air fryer immediately. Pat dry on a clean towel, and transfer to a sealed glass container or zip-top bag. Refrigerate at 40°F (4°C); most sprouts stay crisp for 5-7 days.
Why this matters: Leaving sprouts in a warm air fryer past the harvest window invites decay and foul odors. The machine must clear, and the sprouts must move to cold storage fast. That's how the system works. Design for glide means the path from harvest to refrigerator is short and intuitive.
Troubleshooting by Data
| Problem | Likely Cause | Fix |
|---|---|---|
| Mold or musty smell | Too much moisture, poor airflow, or inconsistent rinsing. | Reduce water-bowl size; increase rinse frequency to every 8 hours; ensure single-layer spread. |
| Seeds not germinating | Temperature too low, or seeds too old. | Check air fryer manual for minimum Warm setting; buy fresh seeds from a supplier (check pack date). |
| Sprouts are wilting or too long | Sprouted beyond harvest window or humidity too high. | Harvest as soon as tails emerge (1/8 inch); reduce water-bowl size. |
| Overflow or pooling water | Water bowl too large, or basket doesn't drain toward tray. | Use 1/4-cup bowl; verify basket drains; elevate basket on parchment if needed. |
| Inconsistent sprouting | Uneven seed layering or temperature fluctuation. | Spread seeds in single, even layer; check that Warm mode stays stable (use a thermometer). |
Home Sprouting Safety
A few guardrails:
- Source seeds carefully: Buy from seed suppliers that guarantee sprouting-grade cleanliness, not ornamental seed packets. Contaminated seeds can harbor bacteria.
- Wash hands before handling seeds and containers.
- Discard if you see rot: Soft, translucent, or foul-smelling seeds mean pathogenic bacteria may be present. Don't salvage.
- Refrigerate immediately: Once sprouted, keep at cold temperatures to inhibit bacterial growth.
- Sprouted grain preparation depends on starting with quality seeds and consistent process (temperature precision and daily rinsing are your safeguard).
The nutrient boost from sprouted seeds comes with the understanding that proper handling prevents spoilage. Enzyme activation peaks 3-5 days post-sprout; after that, nutrient density plateaus and decay risk rises. Harvest on schedule.
Your Next Step
For more low-temperature control ideas (yogurt, sourdough starters, cultured veggies) that mirror sprouting conditions, see our air fryer fermentation. Pick one seed type (mung beans are most forgiving) and run a single 5-day cycle. Time each rinse. Note your air fryer's Warm temperature in your phone notes. Document your water-bowl size. Mark on your calendar where mold first appeared, if any. After one cycle, you'll have baseline data. Refine for cycle two. By cycle three, sprouting becomes automatic.
Don't buy accessories or special trays unless your first cycle reveals a specific friction. Most air fryer baskets work as-is. Design for glide: simpler setup, fewer parts, easier cleanup, higher consistency. That's how sprouting stays a habit, not a novelty that gathers dust.
Related Articles