Air Fryer Fermentation: Master the Temperature Techniques
By Daniel Okafor • 31st Mar
The question pops up regularly: can you ferment foods inside an air fryer, or use it to culture yogurt and sourdough? The honest answer is no, but understanding air fryer fermentation techniques and culturing foods in air fryer intentions reveals something more valuable. Your air fryer isn't a fermentation chamber, but precise temperature control is the backbone of both fermentation and finishing fermented foods perfectly. Let me walk you through why this distinction matters, what actually works, and how to scale fermented recipes without guesswork.
Why Air Fryers Aren't Fermentation Vessels
Fermentation requires sustained, stable temperatures over hours or days at precise low ranges. An air fryer cycles on and off to maintain cook temperature; it's designed for rapid heat and throughput, not patience. For a quick primer on how air fryers move heat, see mini convection ovens. True fermentation happens at 49°F for lagers, room temperature for many yogurts and sourdoughs, or warm zones around 70-75°F for kombucha (conditions an air fryer can't reliably hold over 72 hours without modification and constant monitoring).
Where confusion often starts: I once helped my neighbor scale a chicken marinade from 2 thighs to 8, and he assumed the air fryer could ferment the batch inside the basket. What he really needed was a plan for prepping fermented ingredients separately, then cooking them with precision. That shift, treating the air fryer as a finishing tool rather than a culture vessel, is what unlocked confidence for him.
How to Actually Ferment: The Temperature Control Reality
If you want to culture air fryer yogurt making, sourdough starter in air fryer, or fermented vegetables air fryer (prepared off-unit), you need proper temperature control for fermentation. Here are the proven methods, ranked by precision:
1. Refrigerator + Temperature Controller (Most Precise)
An Ink Bird or similar PID controller cycles your fridge on and off to hold exact fermentation temperatures. Use a probe thermometer that sits inside your carboy or fermentation vessel, not just measuring ambient air (fermentation generates heat, and a large batch raises internal temperature unpredictably). Cost: $50-150. Payoff: set it to 65°F and forget it.
2. Water Bath Method (Medium Effort)
Submerge your fermentation vessel partially in warm water (bathtub or large bucket). Pair this with a sous-vide probe or even a poultry thermometer clipped to the rim, checking every few hours and adjusting water temperature as needed. Works for 2-3 day ferments; becomes tedious beyond that.
3. Ambient Room + Monitoring (Low Cost, High Vigilance)
If your house naturally holds 68-72°F year-round, watch the room thermostat and keep a probe thermometer logged on your phone. No gear needed, but seasonal temperature swings (winter cold, summer heat) will throw timing off batch to batch.
4. Heating Pad Method (Budget Option)
Place a plant germination pad under your fermentation vessel; pair with a thermometer and check twice daily. Simple but less precise than a controller.
Why precision matters: One batch fermented at 49°F takes 2-3 weeks; raised to 65°F mid-cycle and slowly cooled (standard lagering), it develops clarity and depth. The same beer at uncontrolled room temperature (70-75°F) ferments in 10 days but tastes thin. Scale portions, not stress; conversions make consistency your superpower, and that starts with temperature.
Using Air Fryers to Finish Fermented Foods: Temperature & Timing
Once fermentation is complete, your air fryer becomes precise and fast. Here's where the conversion magic happens:
Air Fryer Fermented Vegetables
- Prepare vegetables offline: Ferment carrots, cabbage, or mixed veg in brine (salt, water, spices) for 3-7 days at 65-72°F.
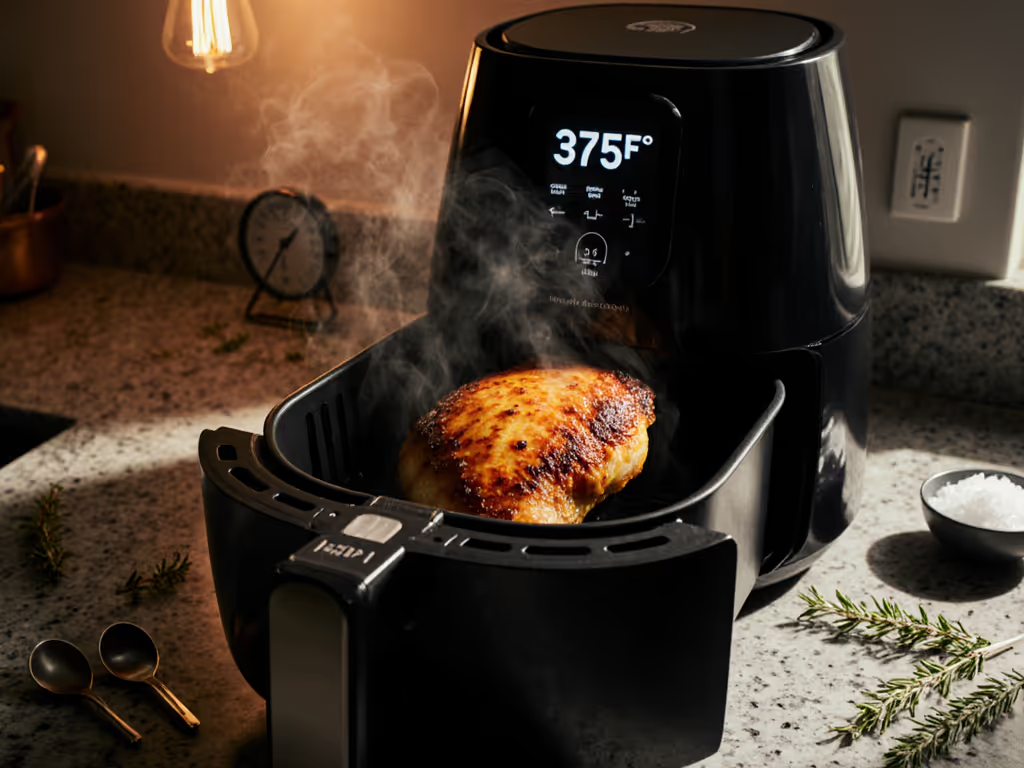
- Air fry at 375°F for 8-12 minutes (basket temperature; reduce oven recipes by 25°F). Check internal texture at 8 minutes; fermented veg soften faster than raw ones.
- Spacing rule: Single layer, no crowding. If batch doesn't fit flat, do two runs rather than stacking (uneven heat kills crispness). If you must stack, follow these stacking techniques to preserve airflow.
- Fallback timing: Smaller air fryer (under 3 quarts)? Add 2-3 minutes. Larger basket? Check at 10 instead of 12.
Air Fryer Yogurt (Proofing/Setting)
If you've cultured yogurt separately and want to finish it (set curds without overcooking):
- Transfer to oven-safe jars or small ramekins (hold inside the air fryer basket).
- Set air fryer to lowest temperature (typically 200-250°F depending on model, well below the Maillard reaction zone of 140-165°C).
- Proof for 4-6 hours with basket door cracked slightly (use a wooden spoon wedged in the door to prevent heat loss).
- Check internal temp at 4 hours: yogurt should feel warm (around 110°F) but not hot. If still runny, add 1 hour increments.
- Refrigerate immediately once set; don't let residual heat overcook it.
This is not ideal, a plain oven or proofing box is better, but it works if your kitchen runs cold or you have no other option.
Air Fryer Sourdough Starter (Dough Prep, Not Culturing)
For sourdough starter in air fryer: You cannot culture a starter at the right temperature (68-75°F for days) inside an air fryer. But you can:
- Proof shaped dough at 300°F for 45-90 min (second rise before bake).
- Finish baking at 375-400°F for 12-18 min (small loaves or rolls only; full loaves won't fit).
- Monitor internal temp: sourdough is done at 205-210°F internal temp measured with a probe thermometer at the center.
Again, a real proofing box or turned-off oven with the light on is more suitable for bulk fermentation. The air fryer's speed works against you here.
Why This Matters: Conversions, Scaling, and Confidence
The real win isn't forcing fermentation into an air fryer, it's understanding that precise temperature tracking applies to both culturing and cooking. Once you've logged internal temps for fermented vegetables, yogurt sets, and sourdough finishes, scaling from 1 portion to 8 becomes automatic:
- Fermented veg serving (1 person): 2 cups, 375°F, 8 min, check at 7 min.
- Fermented veg batch (4 people, two runs): 2 cups per run, same time and temp, stagger by 15 min so first batch rests 8 min covered while second finishes.
- Internal temp check: Veg should yield slightly to a fork but hold shape (don't chase color, chase texture).
Make consistency boring, in a good direction. The moment you pair times with internal temp targets and always include spacing cues, fermentation and finishing stop being an art project and start being a repeatable system.
When to Use Your Air Fryer vs. Other Tools
| Task | Best Tool | Air Fryer Role | Why |
|---|---|---|---|
| Culture yogurt for 8+ hours | Proofing box or oven with light | Backup, less precise | Inconsistent low-temp hold; risk of overcooking |
| Ferment vegetables 3-7 days | Jar at room temp or temperature-controlled fridge | Not applicable | Needs sustained ambient temp, not cooking heat |
| Proof shaped dough 1-2 hours | Bench with towel or proofing box | Backup finish step | Works for last 30-45 min; full proof better elsewhere |
| Cook already-fermented food | Air fryer | Primary tool | Fast, precise, scalable, minimal cleanup |
Practical Next Steps
If fermentation interests you, start here:
- Pick one ferment: Sauerkraut (cabbage + salt, 3 days) or quick-pickled veg (brine, 2 days) are forgiving.
- Get a probe thermometer ($15-30): track ambient room temp twice daily or invest in a controller if you're serious. Our tested air fryer accessories guide covers compatible probes and racks that make temperature tracking and batch spacing easier.
- Ferment offline (jar, cupboard, or temperature-controlled space).
- Cook finished product in your air fryer at 375°F, checking at 8 min, scaling by basket size.
- Log time, temp, and texture in a note on your phone, that log becomes your cheat sheet.
Your air fryer won't culture your yogurt or ferment your sourdough, but it will cook fermented foods faster and more consistently than a stovetop or standard oven. And once you've cracked temperature precision for finishing, batch scaling is just arithmetic: double the portions, double the batches, stagger by resting time. That's the conversion framework that turns weeknight meals from guesswork into autopilot.
Start small. Log your numbers. Let consistency do the work.
Related Articles