High-Altitude Air Fryer Baking: Step-by-Step Guide
By Aiko Tanaka • 23rd Feb

High-altitude air fryer baking requires deliberate adjustments to temperature, timing, and ingredients (the same core principles that guide traditional oven baking in thin air), adapted for the rapid, concentrated heat of an air fryer. If you live above 3,000 feet and have been puzzled by collapsed cakes, dry results, or over-browning, the issue isn't your machine. It's the physics of lower atmospheric pressure, and it's entirely solvable with a systematic approach.
Altitude changes how moisture evaporates, how quickly batter rises, and when the crust sets. These forces intensify in an air fryer, where convection and radiant heat are already more aggressive than a standard oven. The good news: applying proven high-altitude adjustments (tested across traditional baking for decades) gives you a repeatable framework that works. For a broader look beyond baking, see our high-altitude air fryer guide. I've mapped the adjustments step-by-step so you can bake with confidence, execute cleanup without drama, and actually reach for your air fryer again next week.
Why Altitude Affects Air Fryer Baking
At sea level, atmospheric pressure presses down on dough and batter, slowing rise and controlling spread. Above 3,000 feet, that pressure drops sharply. Leaveners (baking powder, baking soda) activate more quickly, liquids evaporate faster, and browning accelerates[1].
In an air fryer, this effect compounds. The machine circulates hot air at high velocity, which means:
- Moisture loss happens even faster than in a standard oven
- Browning and crust formation occur sooner
- Delicate batters can over-rise before the structure sets
- Sugar, exposed to accelerated evaporation, can concentrate and weaken crumb structure[1]
The fix is not guesswork. Data from high-altitude baking research gives us clear adjustment levers: temperature, leavener amount, liquid, and baking time. Translate these into air fryer terms, and your results stabilize.
Step 1: Adjust Leaveners (Baking Powder and Baking Soda)
This is the first and most critical adjustment[1]. At higher altitudes, reduce chemical leaveners to slow rise and prevent over-expansion.
Your adjustment depends on elevation:
- At 3,000 feet: For each 1 teaspoon of baking powder or baking soda, reduce by 1/8 teaspoon[1]
- At 5,000 feet: Reduce by 1/8 to 1/4 teaspoon per teaspoon[4]
- At 7,000 feet or higher: Reduce by 1/4 teaspoon or more per teaspoon[4]
Why this matters in an air fryer: The machine's concentrated heat means rise happens faster. By cutting leavener, you extend the time the batter has to set structure before it balloons and collapses.
Step 2: Increase Oven Temperature by 15-25°F
Raise the air fryer temperature to set the crust and crumb structure before over-rise and drying occur[1][3]. Use the lower end (15°F increase) for delicate items like cakes or cookies; use the higher end (25°F) for sturdier items like quick breads or scones.
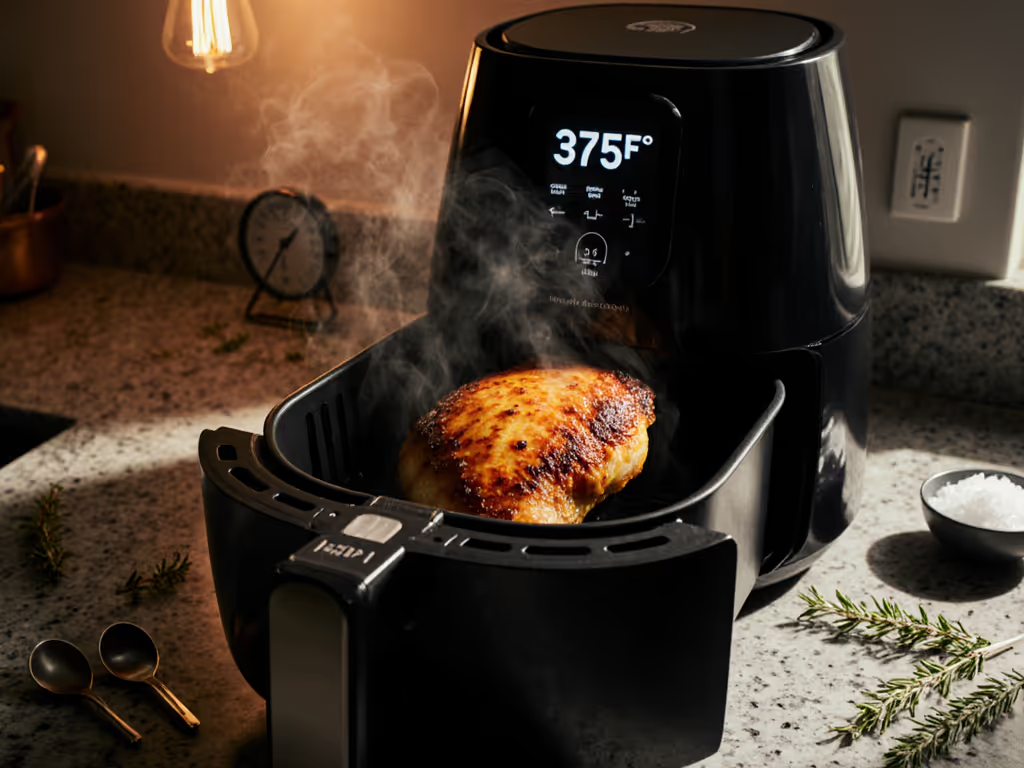
Example: If a recipe calls for 350°F, set your air fryer to 375°F (or 360-365°F for sensitive batters). This forces the outside to brown and the interior scaffold to lock before excessive rise or moisture loss[1][7]. For side-by-side data on cookies, muffins, and small cakes, see our basket vs oven air fryer baking test.
Step 3: Increase Liquid
Extra liquid compensates for accelerated evaporation and keeps the final bake from drying out[1].
Guidelines:
- At 3,000 feet: Add 1 to 2 tablespoons of liquid per recipe[1]
- At 5,000 feet: Add 2 to 4 tablespoons per recipe[4]
- At 7,000+ feet: Add 3 to 4 tablespoons per recipe[4]
How to apply this: Increase water, milk, or eggs in increments. If the recipe already includes eggs, you can count extra eggs as part of your liquid boost. Add slowly; a batter that's too wet will spread excessively in the air fryer's high-velocity air.
Step 4: Add Flour to Strengthen Structure
Extra flour reinforces the crumb and reduces spreading[1].
Adjustment steps:
- At 3,500 feet: Add 1 tablespoon of flour per recipe. For each additional 1,500 feet of elevation, add another tablespoon[1][2]
- Higher elevations: Use this scaling pattern to estimate. You may also experiment with higher-protein flour (bread flour or AP flour with 12%+ protein) to further stabilize structure[1]
Step 5: Reduce Sugar Slightly
Increased evaporation concentrates sugar, which can weaken structure and cause over-browning[1][4].
Adjustment steps:
- At 3,000 feet: Reduce sugar by 0 to 1 tablespoon per cup[4]
- At 5,000 feet: Reduce by 0 to 2 tablespoons per cup[4]
- At 7,000 feet or higher: Reduce by 1 to 3 tablespoons per cup[4]
Start at the lower end; you can always add a touch more sweetness to the next batch if needed.
Step 6: Shorten Baking Time by 5-10 Minutes Per Hour
Because the air fryer is hotter and moisture is leaving faster, baking finishes sooner[7]. Reduce the recipe's time by roughly 5-10 minutes per hour of baking time suggested[7].
Practical approach: If a recipe calls for 25 minutes, start checking at 15-17 minutes. If it calls for 40 minutes, check at 30 minutes. Use visual cues (a toothpick should come out clean or with just a few moist crumbs, not batter[4]). Build this into a habit: set a timer for the reduced time, then check every 1-2 minutes until done. This is faster than oven baking and saves energy.
Step 7: Test and Document Your Results
High-altitude air fryer baking is reproducible, but your kitchen's specific conditions (actual elevation, humidity, air fryer model, and ingredient brands) will create slight variation. After your first successful batch, write down:
- Exact temperature used
- Adjustments made (leavener reduction, liquid added, flour added, sugar reduced)
- Actual baking time
- Visual doneness cues (color, firmness, toothpick test)
- How the result tasted and felt (moist, dry, dense, light)
This log becomes your playbook. Next time you bake the same item, you skip the guesswork.
The Cleanup Reality
Baked goods in an air fryer mean less splatter than oven baking (no drips on the heating element). Not sure which liners or racks fit your model? Check our air fryer accessories fit guide. But residue and crumbs collect in the basket. To protect your cleanup routine and keep the machine in regular rotation: use parchment or silicone liners if the basket design allows, wipe the basket immediately after cooling, and check seams for flour dust or batter drips weekly. Cleanup is throughput: a machine that's quick to reset is a machine you'll actually use next Friday. For step-by-step maintenance, including crumb-trap fixes and deep cleaning, use our air fryer cleaning guide.
Store your temperature and adjustment log in a note on your phone or a printed card taped inside a cabinet door. This removes the friction of recalculating every time.
Your Next Step
Select one recipe you bake regularly (a muffin, quick bread, or cake). Write down the original ingredients and instructions. Using the adjustment steps above, calculate your high-altitude modifications based on your elevation. Make one batch, document the results, and evaluate. Did it rise too much, too little, or just right? Was it dry or moist? This single test run gives you proof-of-concept and a template for all future altitude baking in your air fryer. Once you solve one recipe, the framework applies to the next, and the anxiety dissolves.
Related Articles